Download Fillinger Script Here
Table of Contents
How to Use the Fillinger Script in Adobe Illustrator
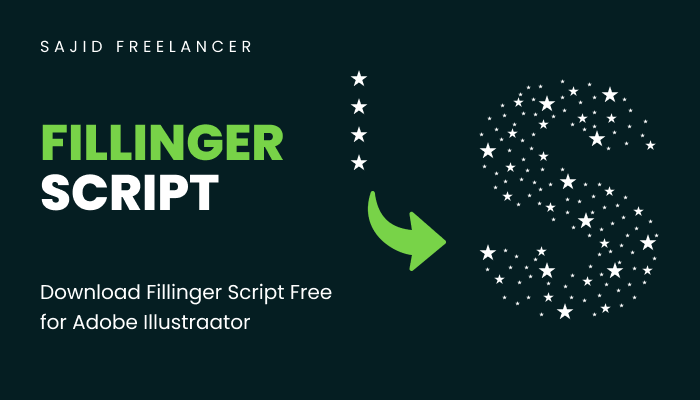
The Fillinger Script is a helpful tool that automates filling irregular shapes with objects, creating artistic effects in Adobe Illustrator. It’s widely used for tasks like filling text or shapes with patterns, symbols, or smaller objects in a seamless way.
Here’s a step-by-step tutorial on how to use it effectively.
Step 1: Download the Fillinger Script
- Search online for the “Fillinger script for Adobe Illustrator” or download it from my website. Ensure you get the
.jsxfile format. - Save the script in a memorable location on your computer.
Step 2: Prepare Your Artwork
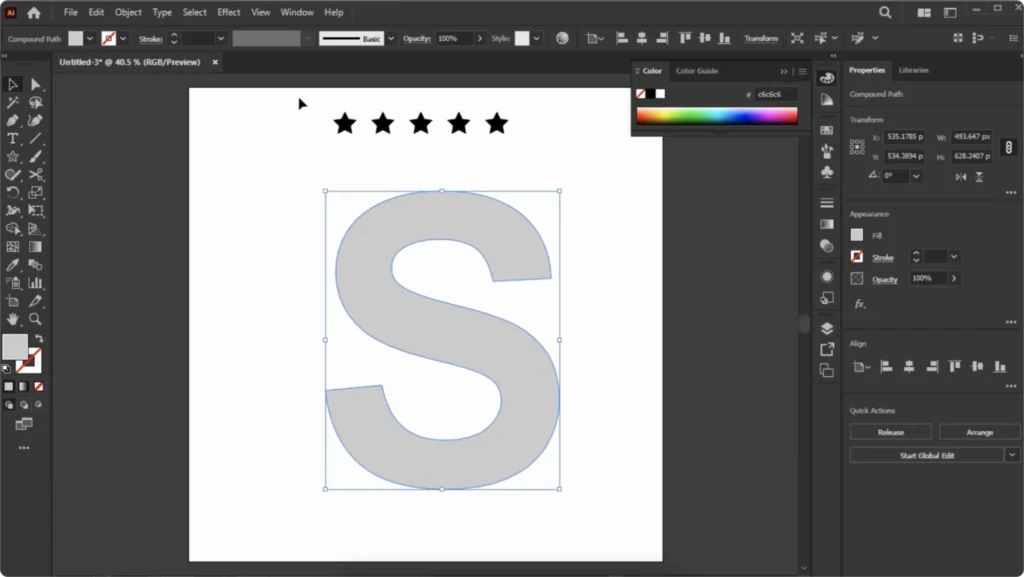
- Create or import the object or shape you want to fill in Illustrator.
- Example: Draw a circle, a text outline, or an irregular shape.
- Ensure your shape is a closed path. You can check by selecting the object and looking at the Pathfinder panel. If it’s not closed, use the Join command (
Ctrl + JorCmd + J).
Step 3: Select Fill Objects
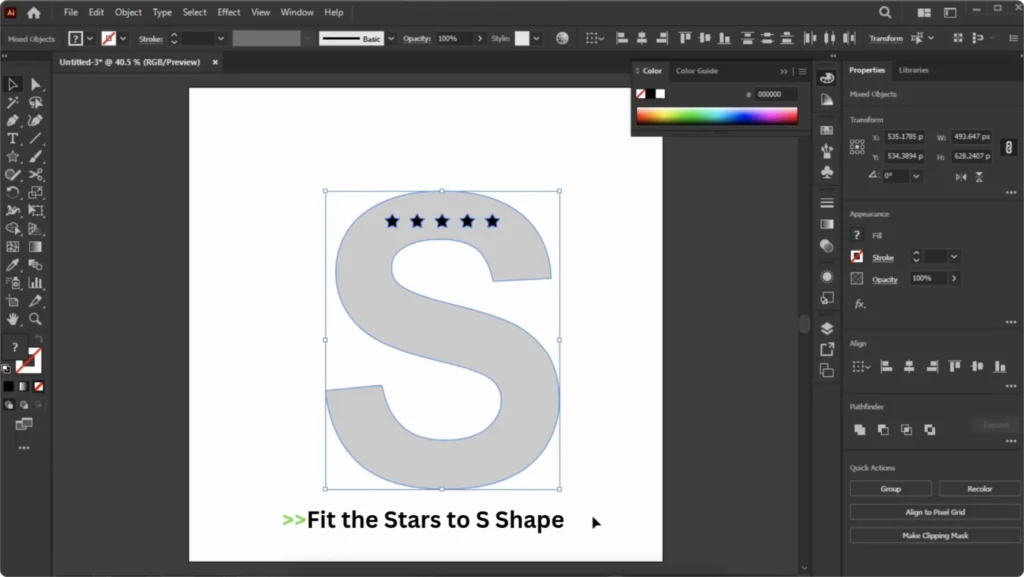
- Create or place the objects you want to use as fillers (e.g., small icons, shapes, or symbols).
- Select these filler objects and group them by pressing
Ctrl + GorCmd + G.
Step 4: Run the Fillinger Script
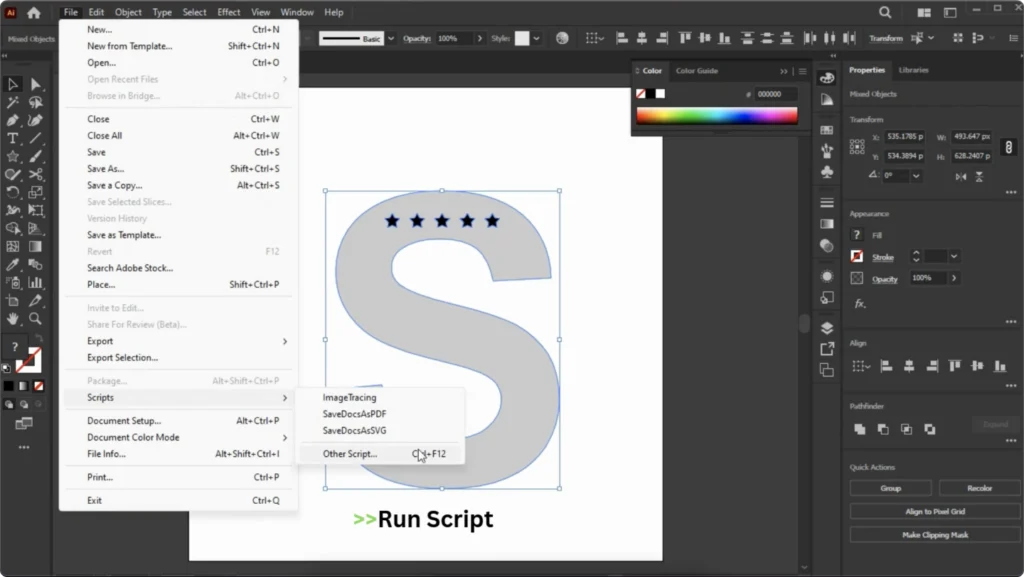
- Select both the container shape and the grouped filler objects.
- Run the script by going to File > Scripts > Other Script and choosing the Fillinger script.
Step 5: Adjust Settings
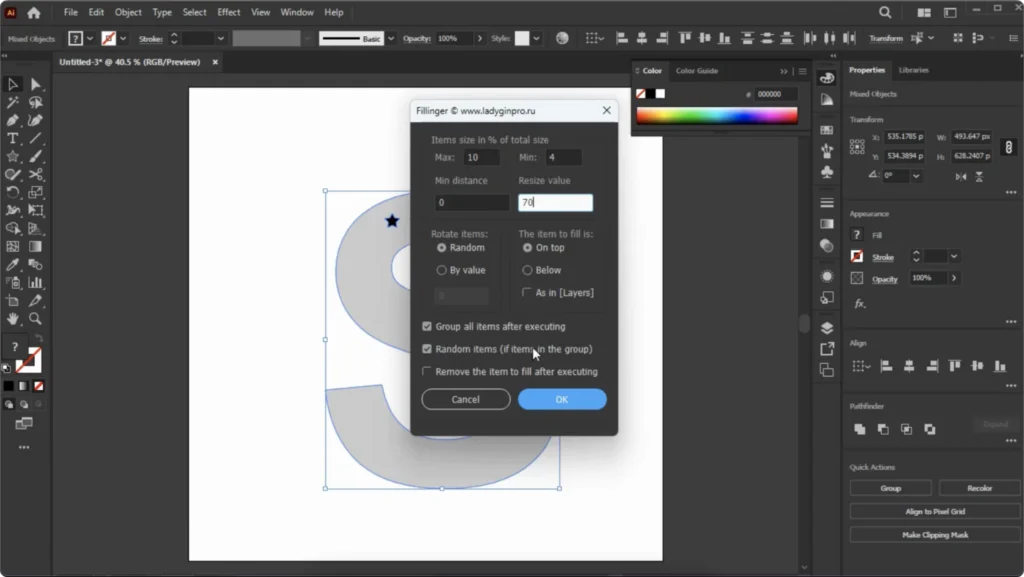
When the script runs, a dialog box may appear (depending on the script version) asking for settings like:
- Density: Controls how tightly the fillers pack inside the shape.
- Rotation Variance: Allows random rotation of fillers for a natural look.
- Scale Variance: Enables variations in filler sizes.
Set these according to your design needs and hit OK.
Step 6: Refine the Output
- Review the filled shape and check if it meets your requirements.
- If adjustments are needed, undo (
Ctrl + ZorCmd + Z) and rerun the script with different settings. - For more complex designs, ungroup the filled objects and manually adjust their placement or size.
Step 7: Finalize the Artwork
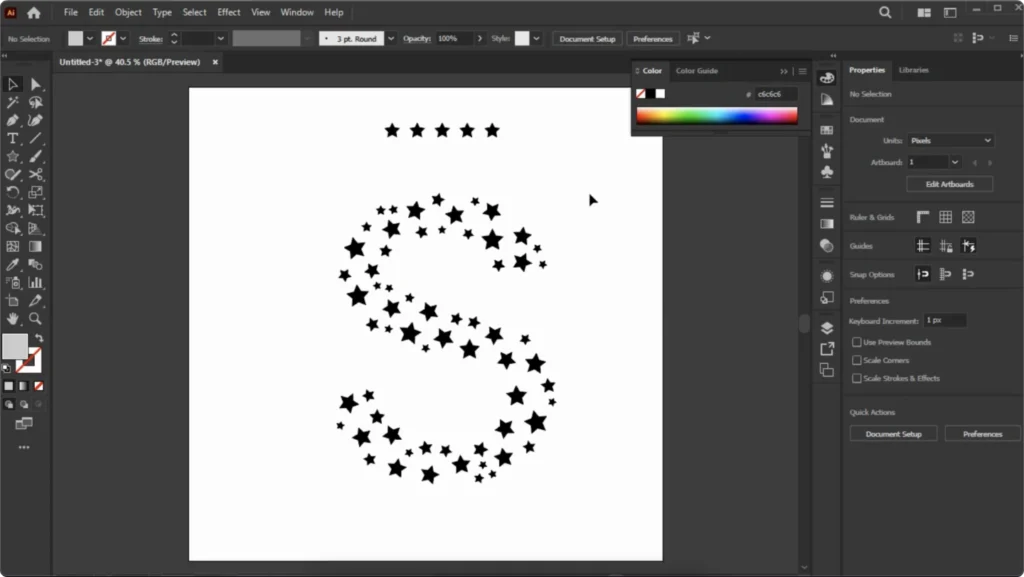
- Once satisfied with the fill, lock or group the filled shape (
Ctrl + GorCmd + G) to keep it intact. - Add additional design elements as needed.
Tips and Tricks
- Use symbols instead of raw objects as fillers to reduce file size and improve performance.
- Experiment with colors and gradients on your filler objects for vibrant effects.
- Combine the Fillinger script with clipping masks for creative compositions.

One Response
Your writing is like a well-tuned instrument, each word and sentence perfectly balanced to create something beautiful.