

Table of Contents
Creating seamless patterns in Adobe Illustrator is a valuable skill for designers, whether you’re crafting backgrounds, textiles, or digital artwork. In this guide, I’ll walk you through the process of making a custom pattern, ensuring it tiles seamlessly.
Step 1: Set Up Your Document
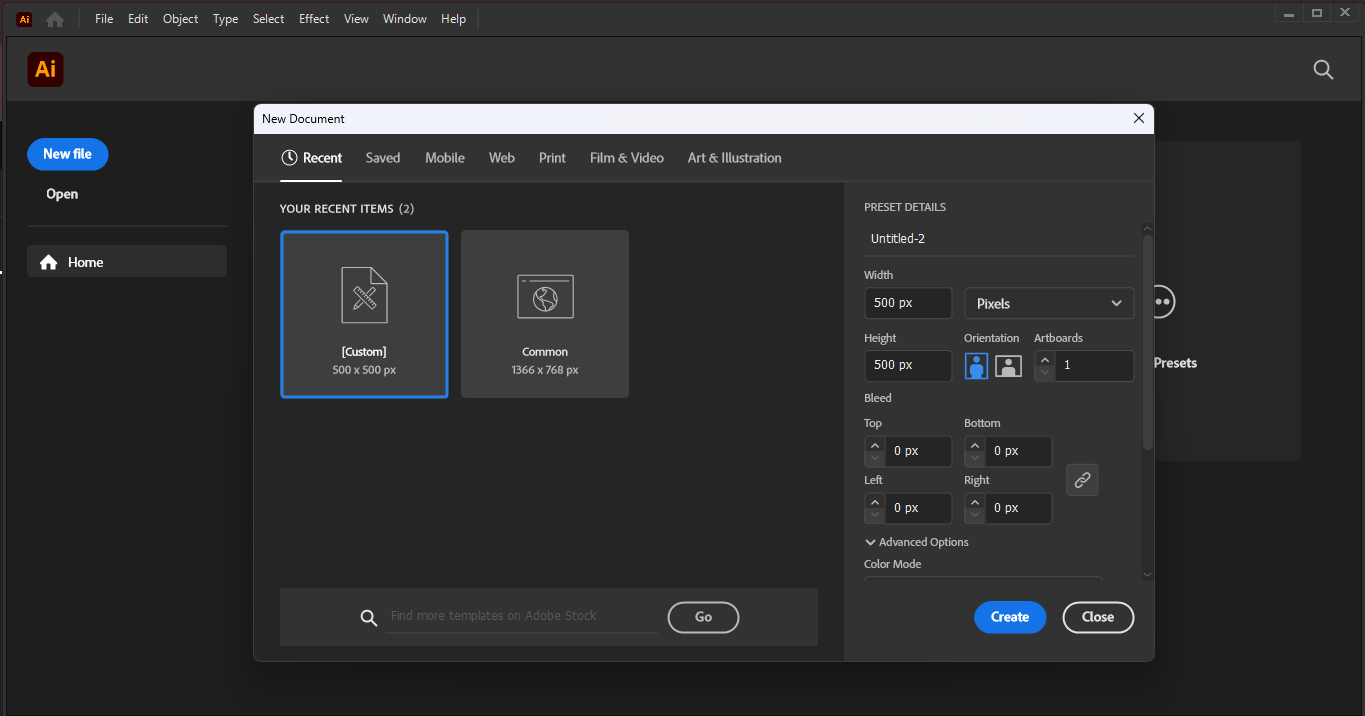
Open Adobe Illustrator and create a new document (File > New).
Choose a canvas size—500×500 px is a good starting point for testing patterns.
Step 2: Design Your Pattern Element
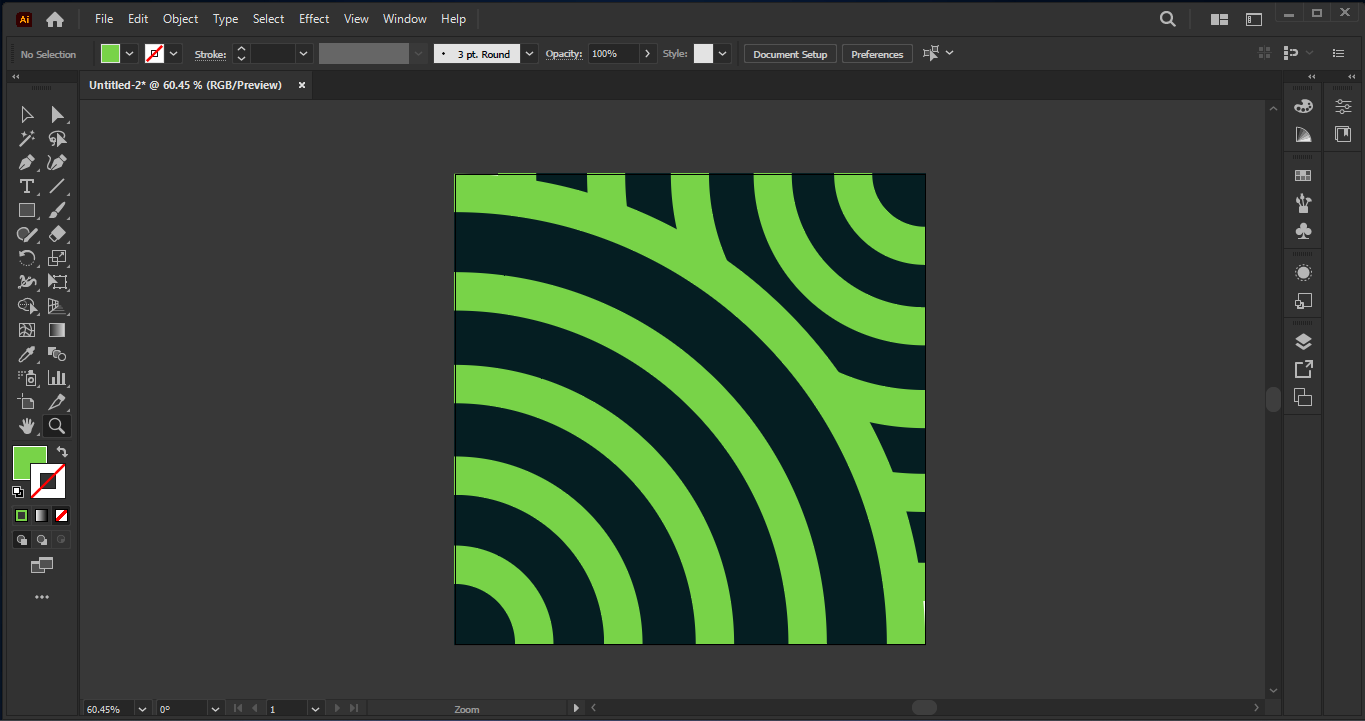
Draw or import the shapes, icons, or artwork you want in your pattern.
Keep your design within an imaginary bounding box—this helps with seamless tiling later.
For a simple example, try using basic shapes like circles, stars, or custom brush strokes.
Step 3: Define the Pattern Tile
Select all elements of your design.
Go to Object > Pattern > Make.
A dialog box will appear—click OK to enter Pattern Editing Mode.
Step 4: Adjust the Pattern Tile for Seamless Repeats
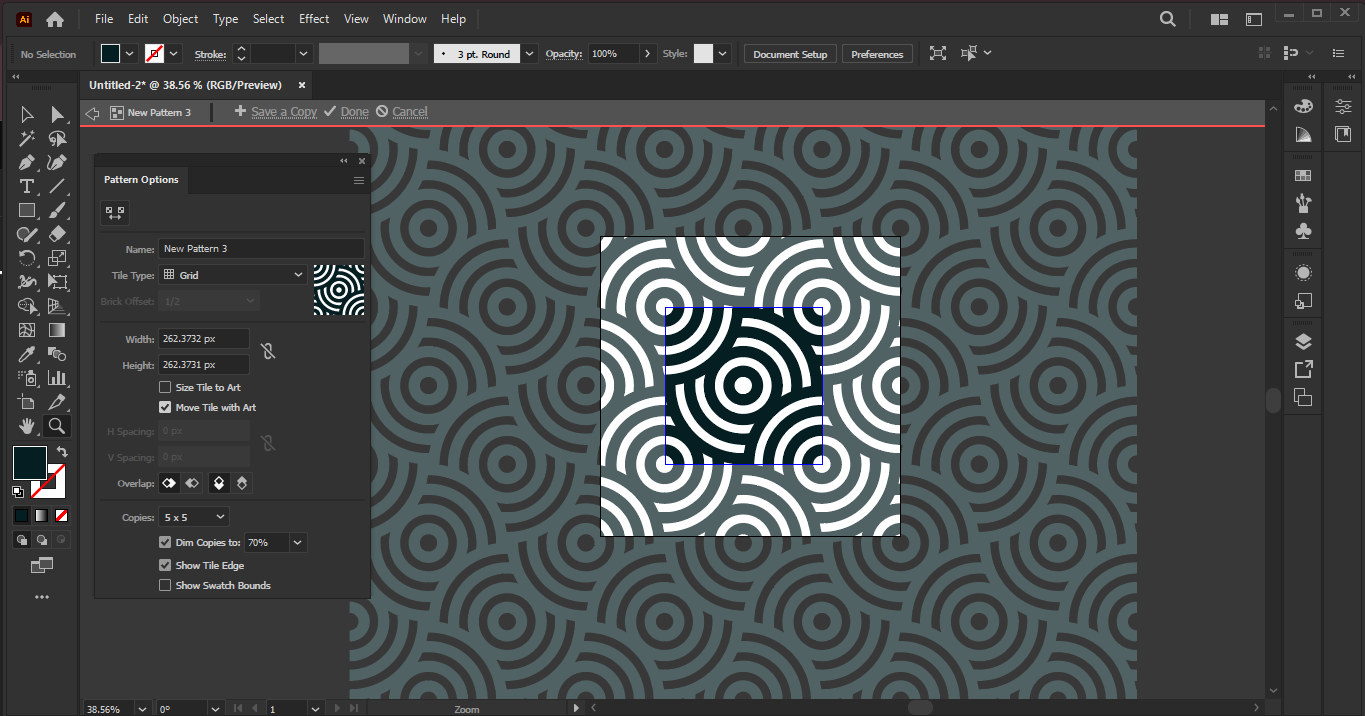
Illustrator generates a blue bounding box—this defines the repeat area.
Resize the box if needed to control spacing.
Use the “Tile Type” options:
Grid (default) – Repeats in rows and columns.
Brick by Row/Column – Alternates like brickwork.
Adjust H/VS Spacing to control gaps between elements.
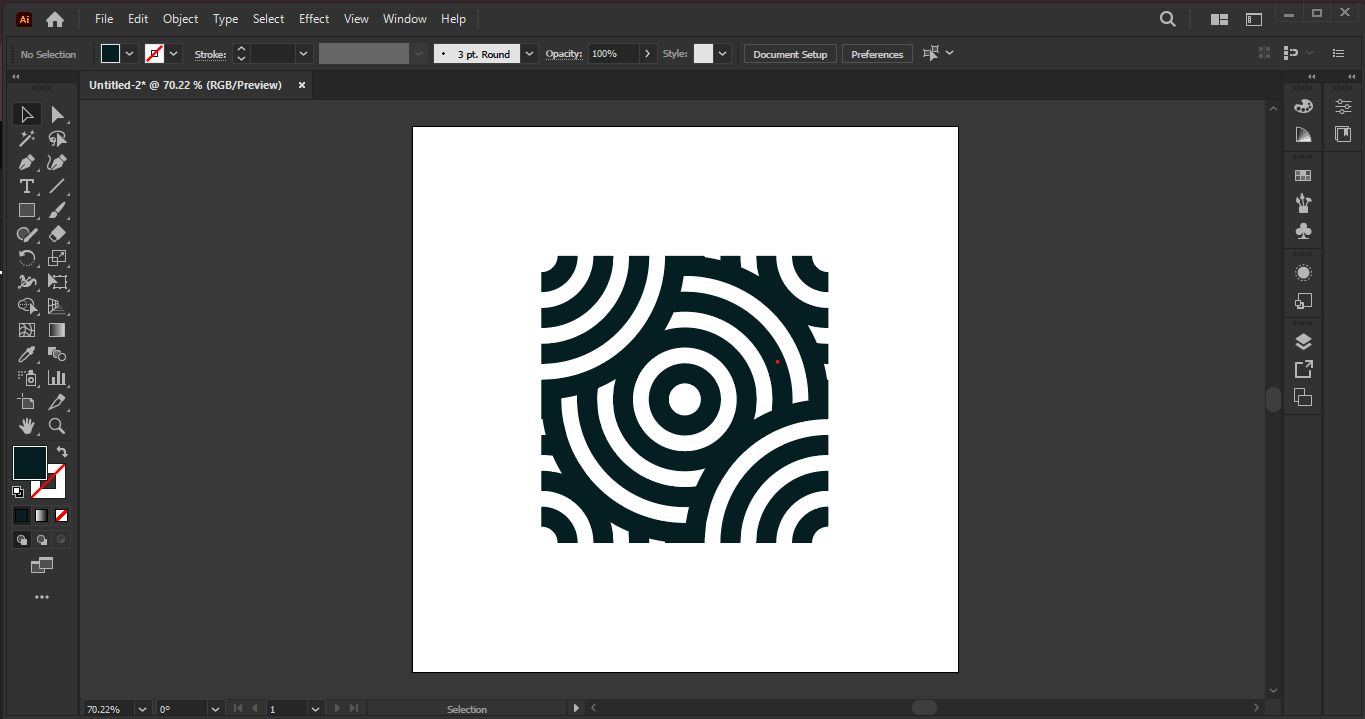
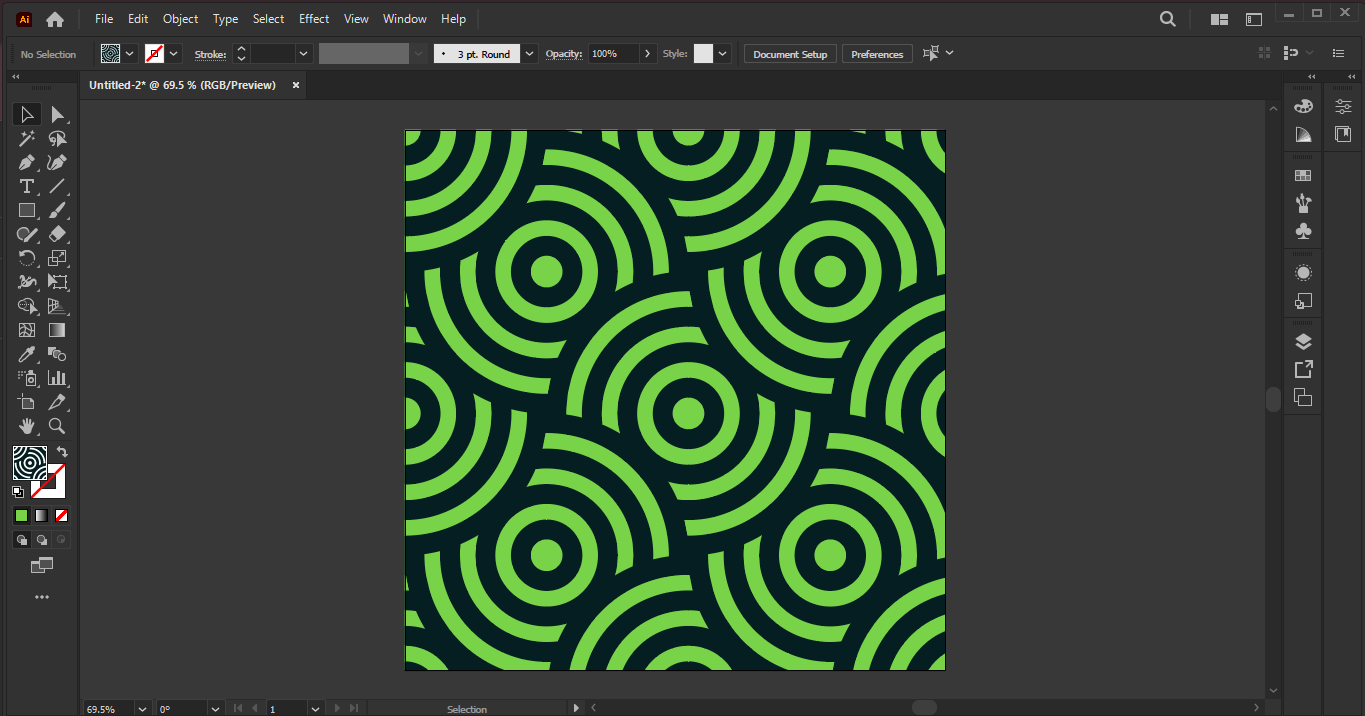
Step 5: Test & Refine the Pattern
Illustrator previews the repeat in real-time—check for awkward gaps or misalignments.
Move elements to ensure smooth transitions at the edges.
Click “Done” in the top bar to save the pattern.
Step 6: Apply Your Pattern
Your pattern is now saved in the Swatches Panel.
Select any shape and click the pattern swatch to apply it.
Adjust scale via Object > Transform > Scale (uncheck “Transform Objects” to resize just the pattern).
Pro Tips for Better Patterns
- Use Overlapping Elements – Extend shapes beyond the tile edge for seamless blends.
- Try Different Layouts – Hexagonal or half-drop repeats add visual interest.
- Edit Later – Double-click the swatch to modify your pattern anytime.