

All Resources Used in Figma Tutorial, Download Here.
Table of Contents
Step 1: Set Up the Project
Open Figma and create a new file.
Rename the file: “Fanta Website UI”.
Create a frame (desktop size 1440 x 1024).
Set the background color to white (#FFFFFF).
Step 2: Add Brand Colors & Fonts
Pick Fanta’s orange (#FF6600) as the primary color.
Add white and dark navy (#0A0A0A) for text and accents.
Choose fonts (Google Fonts works well):
Headline: Montserrat Bold
Body: Poppins Regular
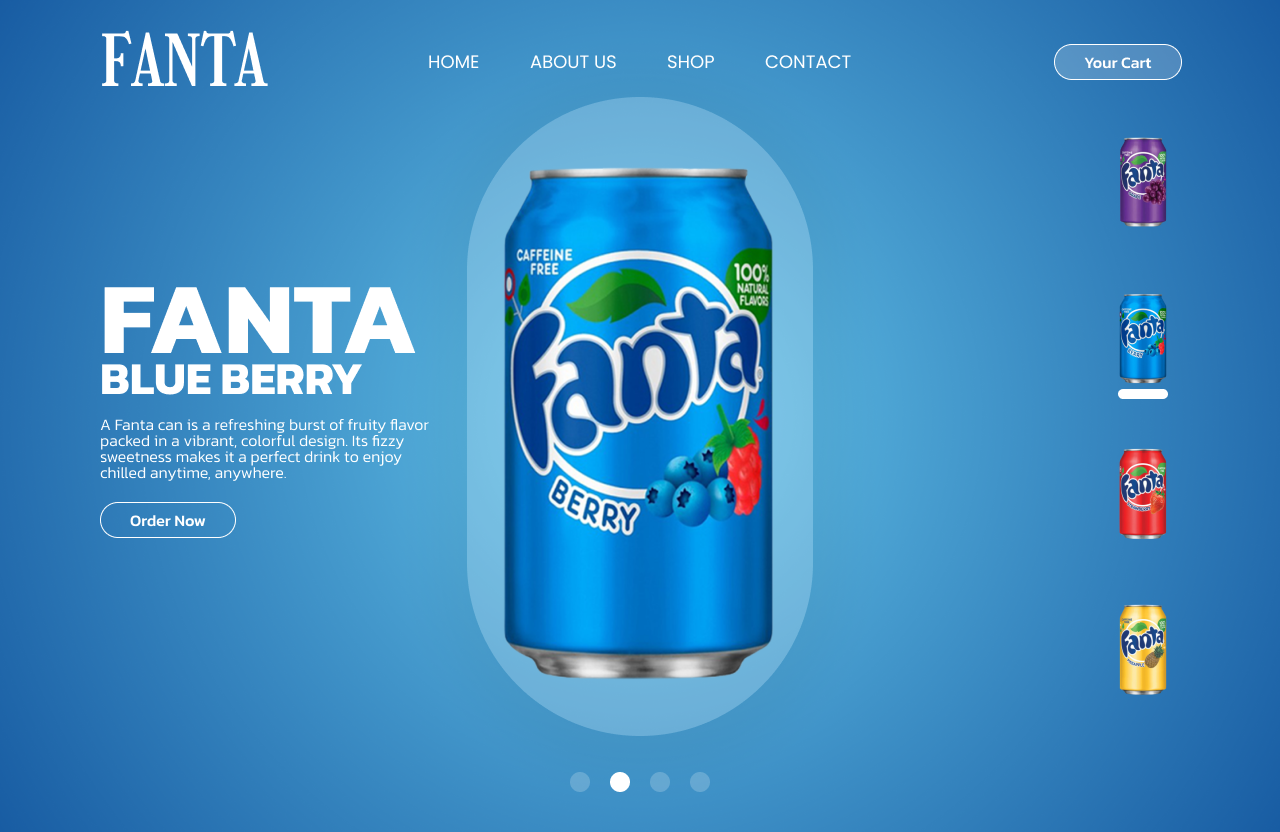
Step 3: Build the Hero Section
Draw a large rectangle covering the top part of the frame. Fill it with orange gradient.
Import a Fanta can PNG (transparent background). Place it in the center-right.
Add a headline on the left: “Refresh Your Day with Fanta”.
Add a subheading: “Bold taste. Bright colors. Always refreshing.”.
Insert a button: “Shop Now” (rounded corners, white text, dark background).
Step 4: Add Decorative Elements
Add orange slices or abstract circles around the can for a fun, bubbly effect.
Use the Pen Tool or Ellipse Tool to make splashes and waves.
Keep the design playful and fresh, matching Fanta’s brand vibe.
Step 5: Create the Product Section
Add a grid of 3 product cans (Fanta Orange, Fanta Grape, Fanta Strawberry).
Below each can, add name + price.
Add a “Buy Now” button under each product.
Step 6: Footer
Add a footer with:
Fanta logo
Social icons (Instagram, Facebook, YouTube)
Links: About | Contact | Privacy
Step 7: Animate in Figma
Switch to Prototype mode.
Add hover effects:
Button grows slightly when hovered.
Fanta can rotates 5° left and right.
Use Smart Animate:
Animate the can sliding in from the right.
Animate orange slices floating in slowly.
Adjust easing to Ease Out and duration to 800ms for smooth animations.
Step 8: Preview & Share
Click Present to preview the full website UI with animations.
Share the Figma link with collaborators or export it as a video/gif for your tutorial.