


Triangulator Script For illustrator Free Download
Table of Contents
How to Use the Triangulator Script in Adobe Illustrator
The Triangulator Script is a handy tool for creating low-poly, geometric designs in Illustrator. Here’s a simple step-by-step guide:
Here’s a step-by-step tutorial on how to use it effectively.
Step 1: Download the Triangulator Script
- Search online for the “Triangulator script for Adobe Illustrator” or download it from my website. Ensure you get the
.jsxfile format. - Save the script in a memorable location on your computer or simple save to desktop for easy navigation.
Step 2: Prepare Your Artwork

Open Illustrator and create or import the image you want to triangulate.
Rasterize the image if needed (Right-click > Rasterize).
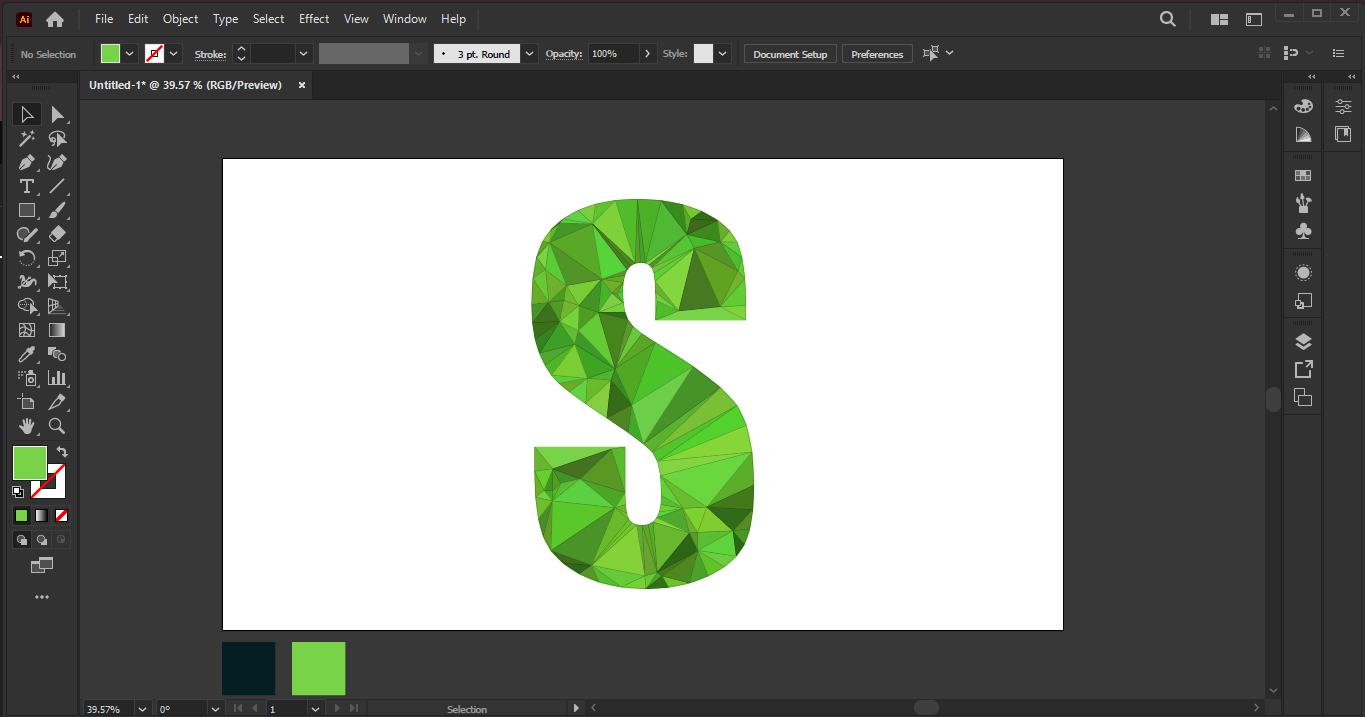
- Create or import the object or shape you want to fill in Illustrator. I’m just creating a S letter to demonstrate the tutorial.
- Example: Draw a circle, a text outline, or an irregular shape.
- Ensure your shape is a closed path. You can check by selecting the object and looking at the Pathfinder panel. If it’s not closed, use the Join command (
Ctrl + JorCmd + J).
Step 3: Run the Triangulator Script

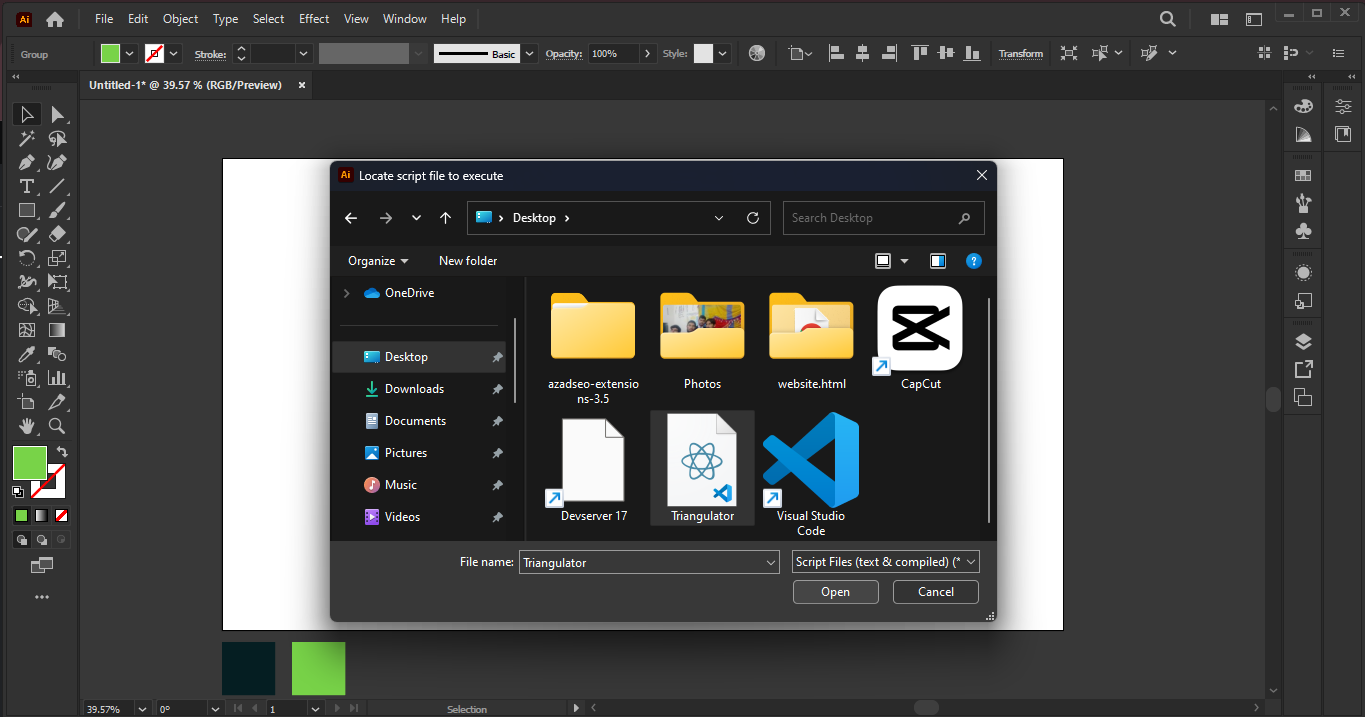
Go to File > Scripts > Triangulator (or the script name you installed).
A dialog box will appear with settings.
Key Settings:
Points: Number of triangles (higher = more detail).
Threshold: How much the script follows color/contrast.
Stroke/Fill: Choose if you want outlines or filled shapes.
Click OK and wait for the script to generate the effect.
Step 4: Adjust the Result
Use the Direct Selection Tool (A) to tweak individual points.
Change colors with the Eyedropper Tool (I).
Step 5: Save & Export

Save as .ai for editing later.
Export as .PNG/.SVG for web/print use.
Tips and Tricks
- Use high-contrast images for better results.
- Experiment with different point counts.
That’s it! Enjoy creating low-poly art with the Triangulator script. 🎨